The Title
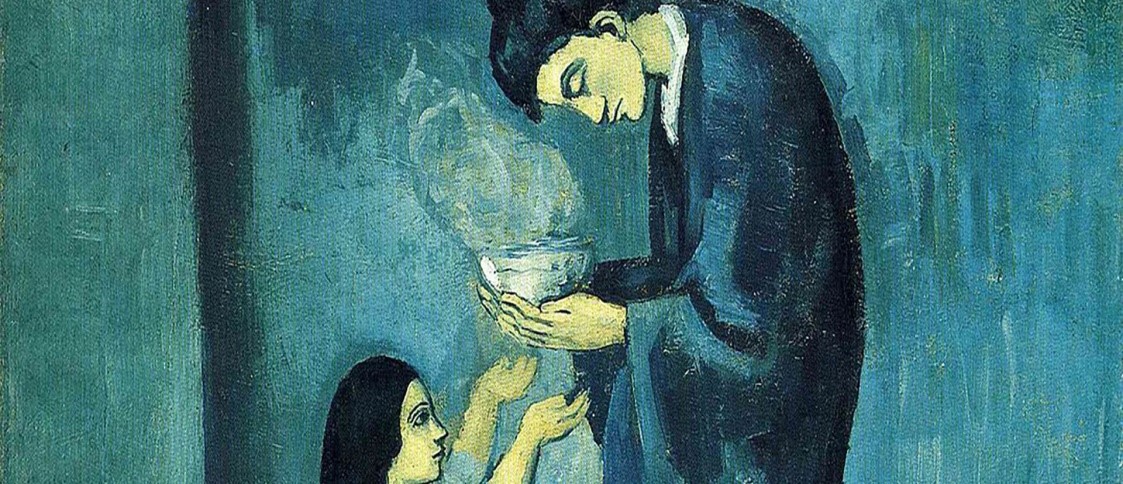
The painting of a woman bending over and presenting a hot bowl of food to a child is used in preparing and making a Hands-On Self Portrait. The image exemplifies how one can use their hands to create art since the woman’s hand is holding food. However, this demonstrates that using your hands to create art is possible. The painting of a woman bending over and presenting a hot bowl of food to a child is used in preparing and making a Hands-On Self Portrait because it demonstrates the use of one’s hands in art creation.
Materials
I chose markers, colored pencils, paint or collage to finish the work because I wanted to create a self-portrait that would be fun for me. I decided on features because they would give me more freedom to doodle and add whatever I wanted to my photo and keep it within the boundaries of the assignment. I chose colored pencils because they were easy to use and allowed me to create an illustration-like portrait. I decided to paint because it was messy and allowed me to express myself in a way that I wouldn’t have been able to with other materials. I chose the college because it allowed me to combine several different images into one cohesive piece of art without spending hours creating a finished piece from scratch.
Characteristics of Elements and Designs
I incorporated the three principles of design, variety, proportion, and balance, into my portrait. The first principle of design is variety. The combination means incorporating various elements in your portrait to make it more visually appealing. For example, I used many shapes such as circles, triangles, and rectangles. The second principle is the proportion which means that you use similar elements in a balanced way. I used identical shapes in my portrait to make it look flat and not crowded. The third principle is balance which means you need to have equal parts of each element for them to be aesthetically pleasing. Usually, this can be done by using different sizes or shapes within each ingredient to create a balance between them altogether.
My portrait is also based on the elements of the design. The line, shape, and color of my image vary to show that I am diverse. The lines from my hair to my neck are long and flowing, while the ones from my head to my shoulders are shorter and more angular. The colors I used on my portrait are also varied: white, black, brown, and blue. However, this makes it clear that I have a wide range of interests and experiences throughout my life.
Process of making
My creative process in creating the Hands-On Self Portrait involved a lot of research. I did my research on how to create a self-portrait, as well as the steps needed to do so. I followed those steps and made a few tweaks to improve them. I started by looking at photos from other people’s self-portraits to see their poses and what kind of background they were using. Then I ensured that my pose was similar to theirs in position and lighting. After that, I looked for a good experience that would complement my posture, one that would make me feel like myself and fit into my surroundings well. The best way to find something like this is by looking through Google Images; you can usually find some pretty cool backgrounds. Once I found a location I liked, I began taking photos with it in mind.
Moreover, this didn’t take too long because most of my friends have been doing this for a while now, so we have tons of images already ready-made for use when we’re done. I wanted to create a portrait that was both stylized and realistic. I began by outlining my face on paper, then adding facial features and hair. After that, I used markers to color my hair and clothes. I then scanned my drawing and brought it into Photoshop, where I adjusted the contrast and color saturation to make it more vibrant and realistic-looking. I added a little text to the image to look like a collage.
Why Artists Influenced My Portrait
Henri Cartier-Bresson and Van Gogh have all influenced my preparation and making of my Hands-On Self Portrait. Cartier-Bresson was an influential photographer in the 20th century who focused on the human form and its social aspects. His images were artistic and showed how humans interact with one another. Van Gogh was a famous Dutch painter who experimented with oil paint and watercolor techniques. He used his paintings to depict people’s emotions and inner thoughts. These artists also influenced me because they helped me develop my skills in photography. The way they worked is very similar to how I work now, still using the same techniques back then, such as focusing on details or zooming in on certain parts of their subjects’ bodies or faces to emphasize those details.
Work Cited
Van Gogh Museum (2020) Why did Van Gogh make so many self-portraits? || Van Gogh Questions #4 https://www.google.com/url?q=https://www.youtube.com/watch?v%3Djb9DEKauhLY&source=gmail-html&ust=1658317310088000&usg=AOvVaw3imuxwXu9iIXCWkBezJjyQ
 write
write